
Laravel with Docker for "dummies"
By Felipe Carneiro • August 13, 2026
Setting up a fresh Laravel development environment can sometimes be a bit troublesome on a machine that hasn’t been configured yet, especially when managing local service dependencies like PHP or MySQL. Thankfully, using Docker (with a helping hand from Laradock) makes this process a lot easier.
In this guide, I'll walk you through setting up a complete Laravel environment from scratch. We will cover configuring Laradock, using VS Code extensions to write code directly inside our container workspace, and managing services via Docker Desktop. Let’s dive in!
We'll be using Docker Desktop on Linux (Linux Mint, to be more specific). If you’re reading this while using Windows, I highly recommend throwing away your OS in the trashcan and switching to a Linux distro. You can thank me later 😝
Jokes aside, setting up Docker on Windows can bring its own set of headaches, like agonizingly slow filesystem performance if your project isn't stored inside WSL2, or broken container scripts caused by CRLF line endings. You’re free to still try it, though, just keep in mind this guide was written with Linux in mind.
Also, for context: I'll be using a brand-new project for this guide, but you can follow these same steps for any existing project as well.
With that aside... Let’s start by first cloning Laradock into your project root:
git clone https://github.com/Laradock/laradock.gitNow, update these values in your Laravel .env file:
DB_HOST=mysql
REDIS_HOST=redis
QUEUE_CONNECTION=beanstalkd
For the rest of the database configuration, Laradock uses the following default values:
DB_CONNECTION=mysql
DB_HOST=mysql
DB_PORT=3306
DB_DATABASE=default
DB_USERNAME=default
DB_PASSWORD=secret
Next, navigate into the Laradock folder and create its environment file:
cd laradock
cp .env.example .env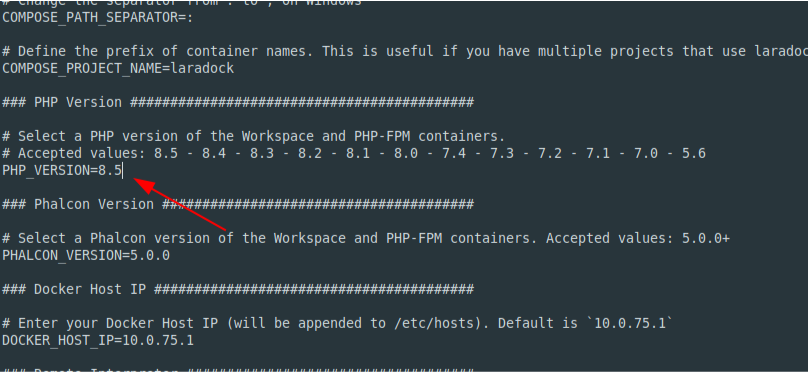
Inside the laradock/.env file we just created, you can set PHP_VERSION to your desired version. I'll be setting it to 8.5 in this example.
Now, run the following command inside the laradock folder to spin up your environment:
docker compose up -d workspace nginx mysql redis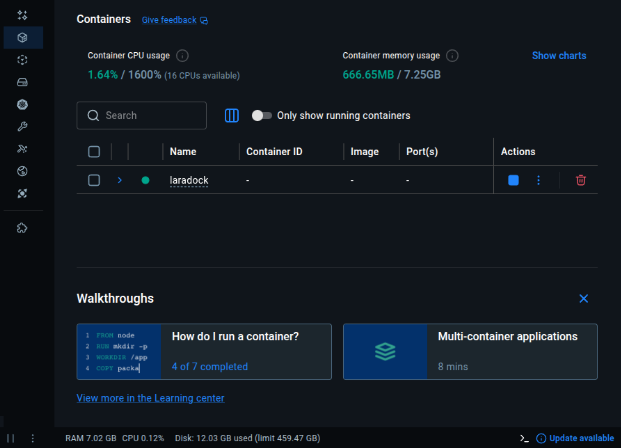
It should show up on your Docker Desktop like this.
Now, open up VS Code and let's add an extension to make our lives a little bit easier.
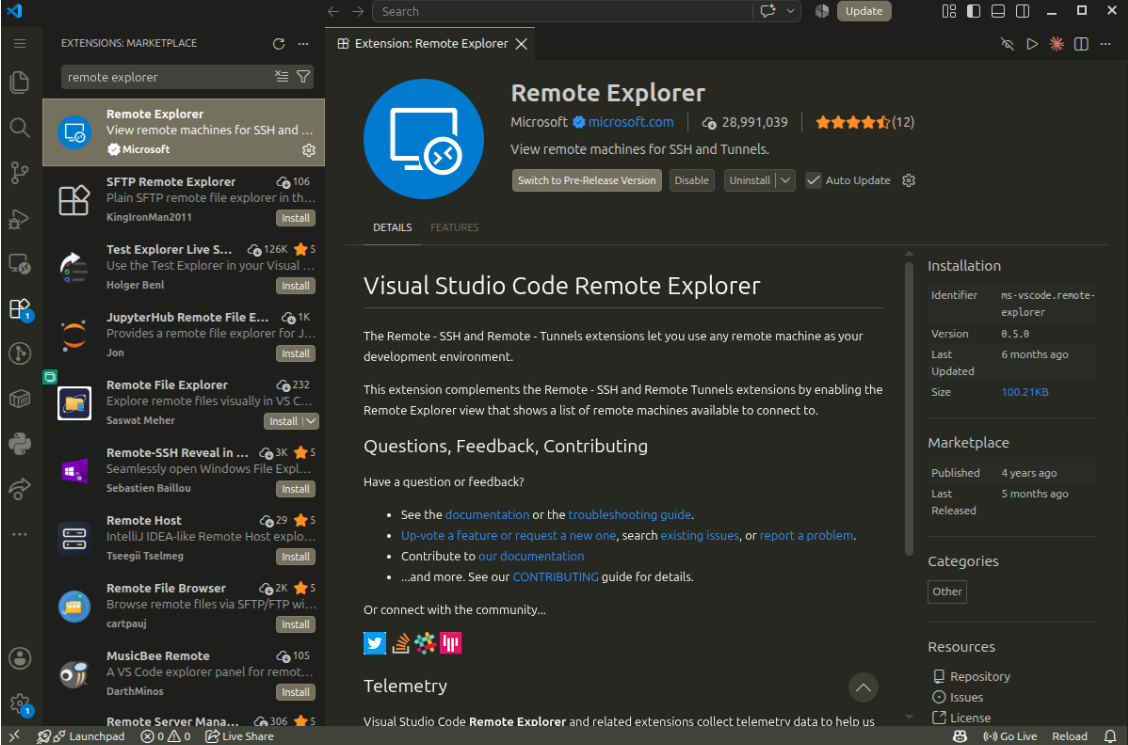
Install the Dev Containers extension alongside Remote Explorer. You can find them by searching for "Dev Containers" and "Remote Explorer" in the extensions tab (Ctrl+Shift+X). Make sure to grab the official ones made by Microsoft.
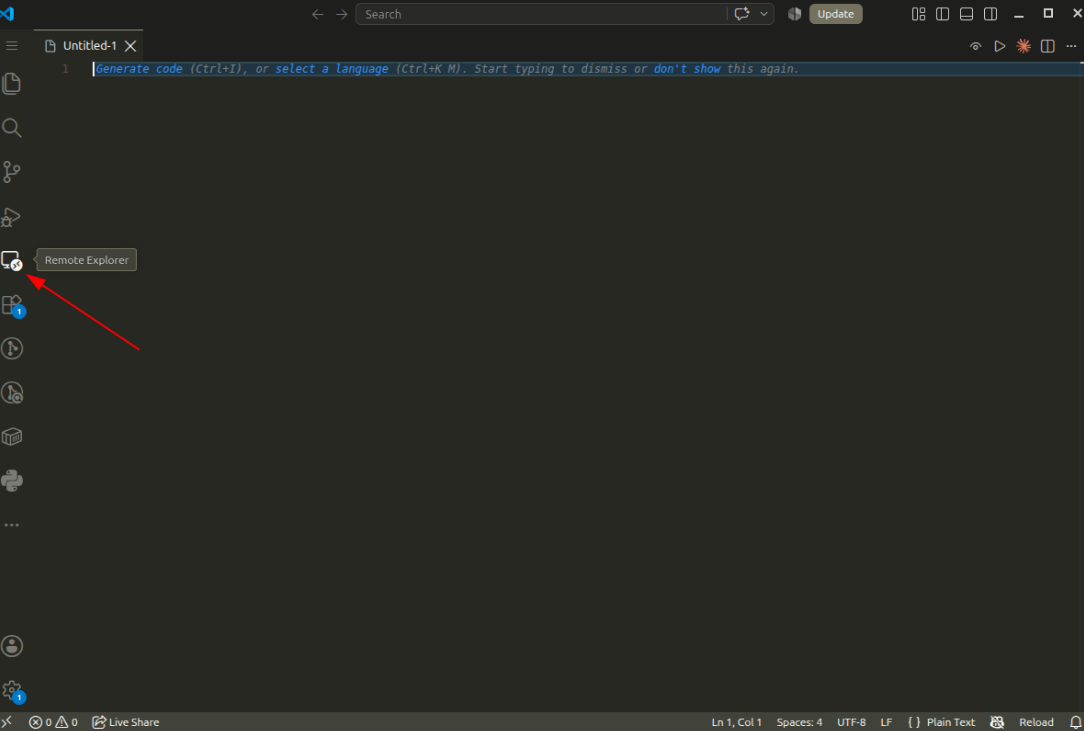
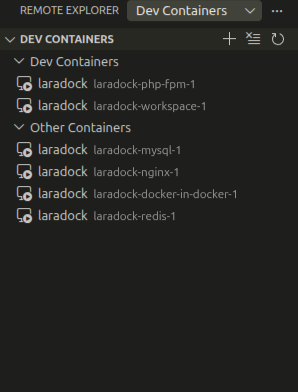
On your Remote Explorer tab, you should find all of our running containers (just make sure they're actually running first by executing the docker compose command!).
Docker containers can be thought of as standalone packages that run specific applications. In our case, we are running services like MySQL and Nginx in separate, isolated containers. This standardization of environments is Docker's biggest strength and the main reason it's basically used everywhere. I won't dive too deep into the theory here, as the focus of this article is simply to get our Laravel project up and running without much hassle.
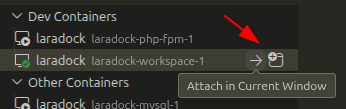
Right now, we want to access the workspace container (named here as laradock-workspace-1). This container is built specifically for development. It is where we'll be able to run Composer, Artisan commands, and any other CLI tools we need. Either select “Attach in Current Window” or “Attach in New Window”.
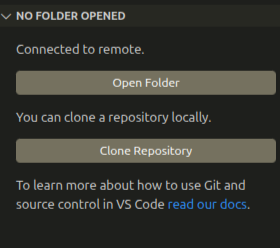
After that, it should show the following screen. Hit the “Open Folder” button so we can navigate to our actual code.
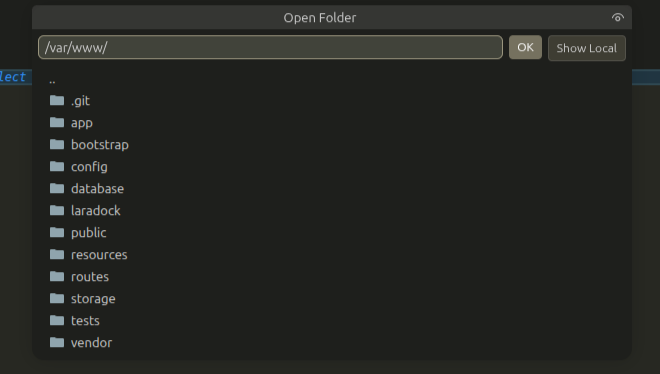
The directory where we can find our code is /var/www. Enter that path into the input bar and click OK.
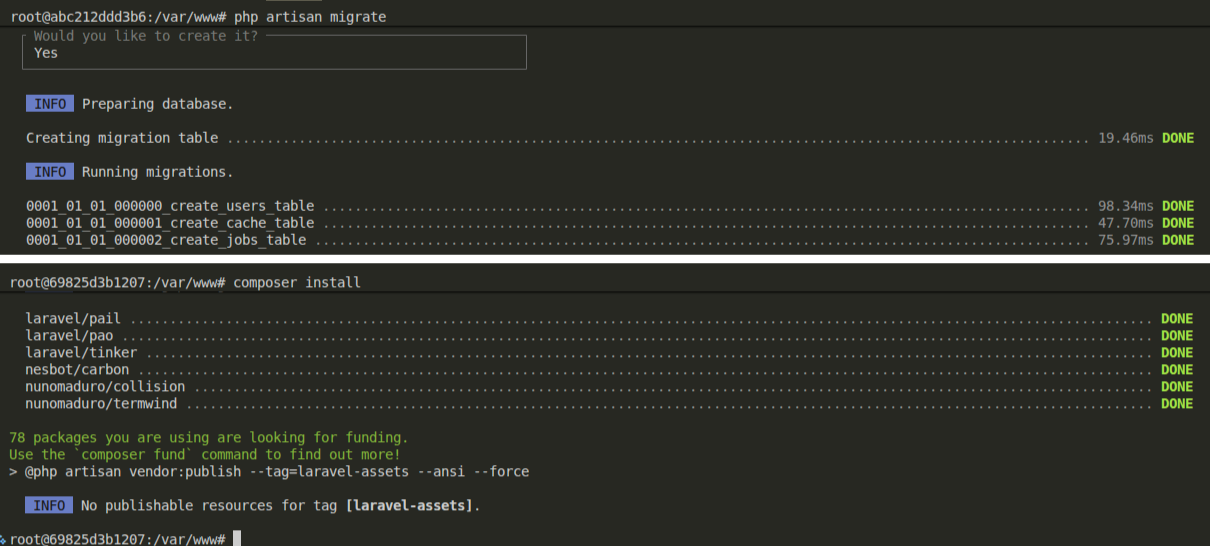
Now that we're finally inside our container, we can work on our code! From here, you can use any tools you need, as everything will be executed directly inside the container. In the following examples, I'll be finishing the setup for my new Laravel project.
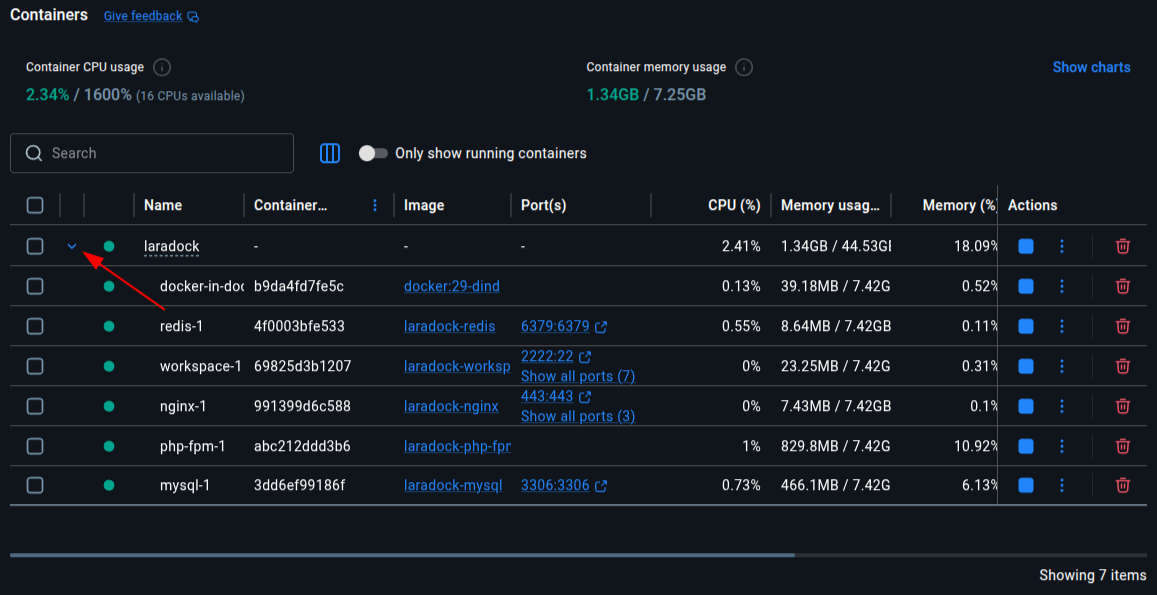
If you head back to Docker Desktop, you can click the small dropdown arrow next to our project group. This will expand the view and show every individual container currently running on your computer, along with their status, ports, and resource usage.
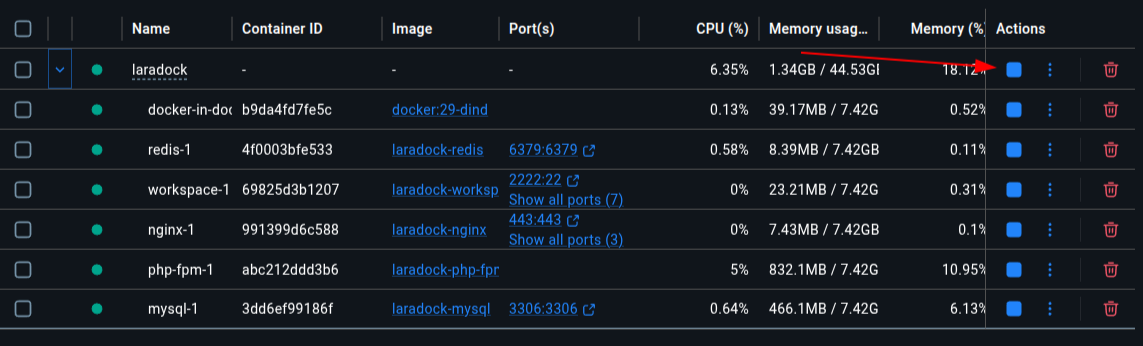
In here you have complete control over each container individually. You can start, stop, or restart any specific service without affecting the others. Alternatively, if you want to apply an action for all the containers at once, you can use the main control buttons at the top of the group (like clicking the stop button to shut down all of your project's containers at the same time).
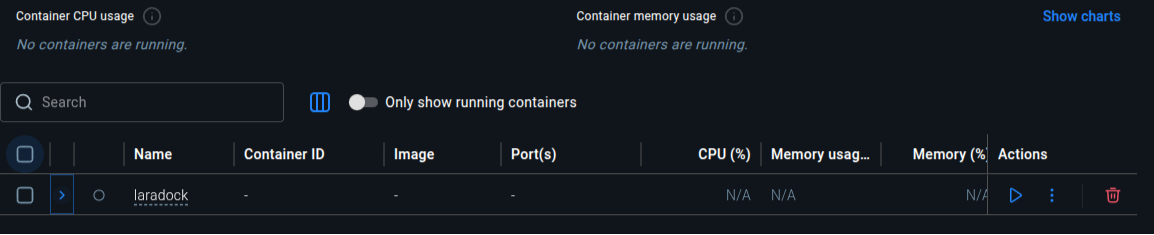
Once everything is stopped, it will look like this when there are no containers running...
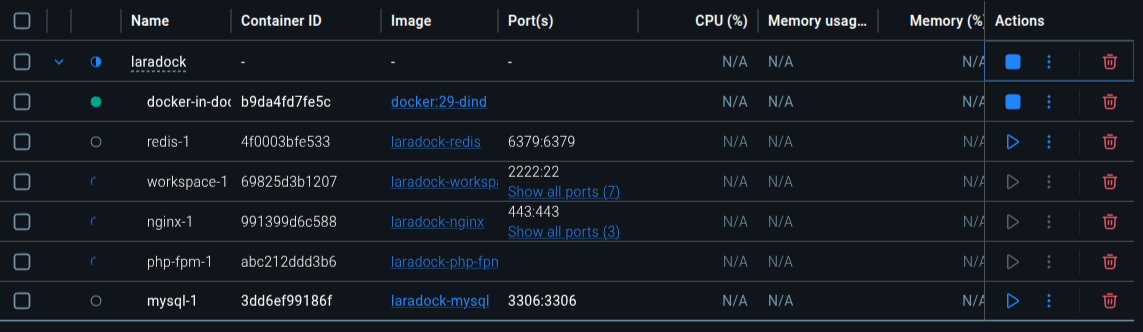
...and like this when starting everything up again!
And just like that, we're done! If you visit http://localhost, you should be able to see your application running.
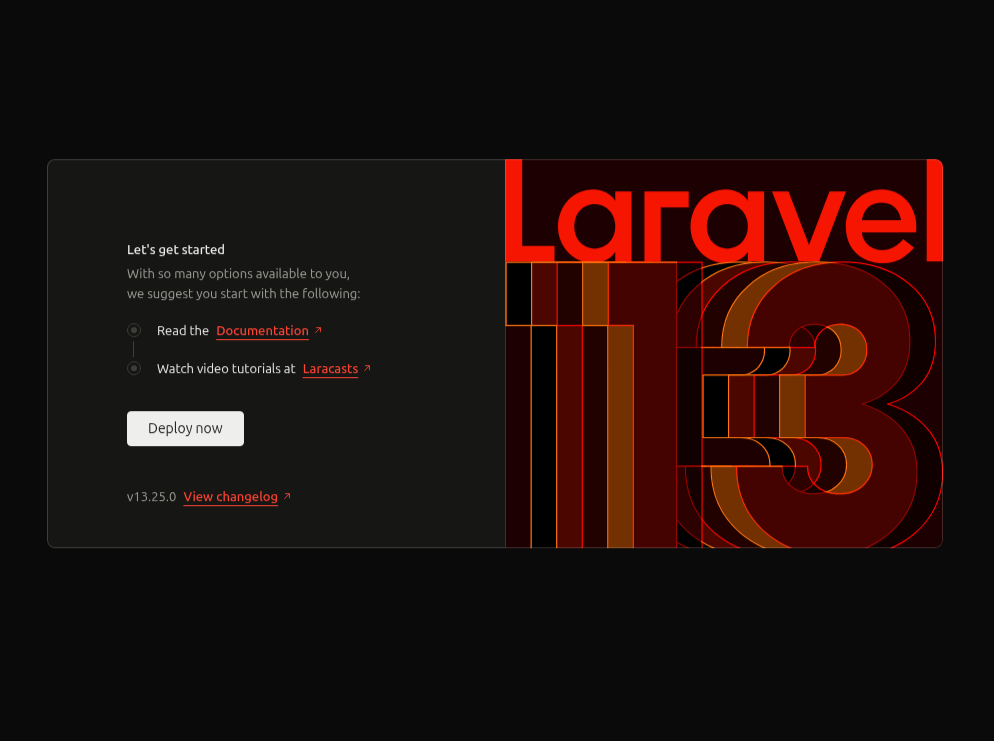
In my case, since it's a fresh new project, I'm greeted with the default Laravel welcome page
So, that's all for now! Hopefully, by the time you're reading this, I've finally added a comment section to my blog. If that's not the case yet, feel free to send me a DM on LinkedIn if you have any questions. Thanks a lot!
QUICK UPDATE:
While testing the containers in the Docker Desktop app, I found this really weird bug where I wasn't able to restart the MySQL container without getting the following error:
chown: changing ownership of '/var/lib/mysql/mysql.sock': Operation not permittedWhile looking into this error, I fell into a bit of a rabbit hole. On restart, MySQL may leave its mysql.sock entry inside the mounted /var/lib/mysql directory. During the next startup, the MySQL entrypoint attempts to correct the ownership of files in that directory, including the socket. In my case, the host-backed mount prevented that chown operation from succeeding, causing the container to fail with an Operation not permitted error. File ownership and UID/GID mapping can contribute to problems like this when host directories are mounted into containers.
To save you the headache, all you need to do to fix this is open laradock/mysql/compose.yml and update to the following text:
services:

   mysql:
     restart: always
     build:
       context: ./mysql
       args:
         - MYSQL_VERSION=${MYSQL_VERSION}
     environment:
       - MYSQL_DATABASE=${MYSQL_DATABASE}
       - MYSQL_USER=${MYSQL_USER}
       - MYSQL_PASSWORD=${MYSQL_PASSWORD}
       - MYSQL_ROOT_PASSWORD=${MYSQL_ROOT_PASSWORD}
       - TZ=${WORKSPACE_TIMEZONE}
     volumes:
       - mysql_data:/var/lib/mysql
       - ${MYSQL_ENTRYPOINT_INITDB}:/docker-entrypoint-initdb.d
     ports:
       - "${MYSQL_PORT}:3306"
     networks:
       - backend
volumes:
 mysql_data:
   driver: ${VOLUMES_DRIVER}
This fixes the problem by replacing the host-backed MySQL data directory with a Docker-managed named volume. Docker volumes are designed for persistent container data and avoid some of the filesystem ownership and permission issues that can occur with bind-mounted host directories. In this case, it allows MySQL's entrypoint to manage ownership of its data directory and socket files normally.
See you next mission!

Felipe Carneiro
Developer with + years of experience building scalable systems in PHP/Laravel. Skilled in RESTful APIs, MySQL, Vue.js and Clean Code principles. Gamer, jiu-jitsu/judo practitioner and fitness enthusiast, just trying to enjoy the small things in life. 😃